This article will explain how to add stores to your Mall map.
Go to Store Maps > Maps and click on the map of your mall. We have already put your map into WordPress and customized it for your use. All you need to do is add the categories and all of the landmarks (stores).
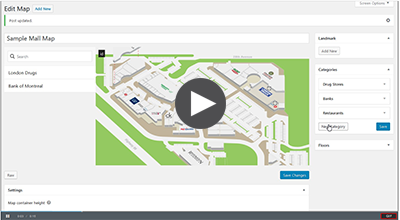
The first step is to add all of the categories to the map page. (eg. Women’s Apparel, Home Decor, Children’s Clothing, Jewellery, etc.). Watch the video below to see how to add the categories.
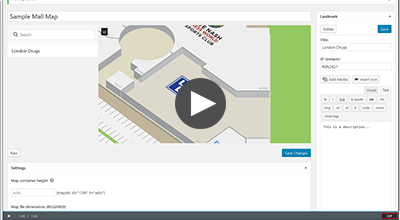
The next step is to add in the stores to the map. Watch this video below to see how to add stores to the map or follow the steps below:
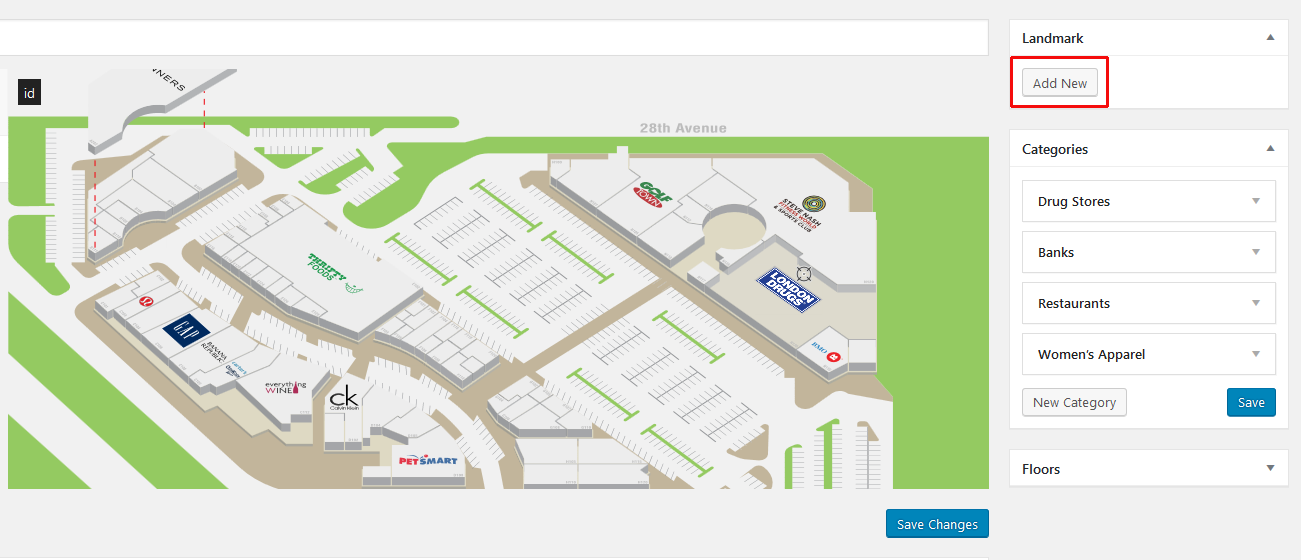
1. Click the Add New button under Landmark.
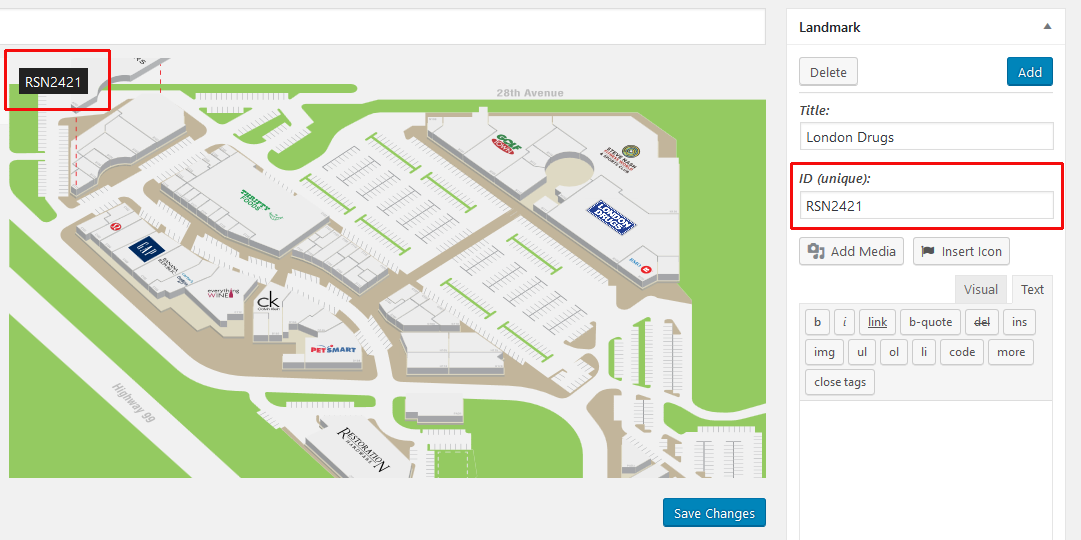
2. In the dialogue box, add in the Title – which is the name of the store.
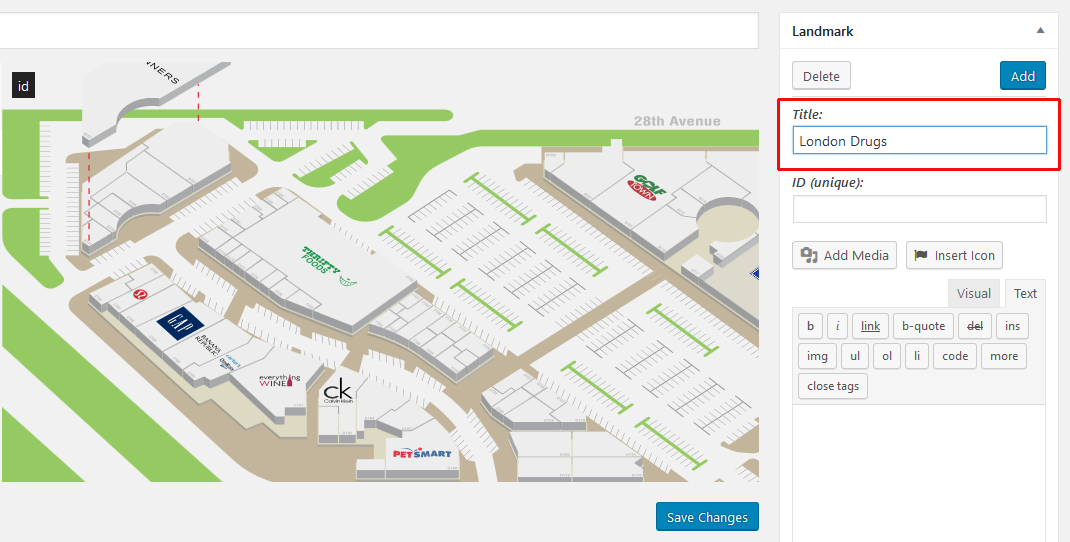
3. Click in the ID field and then click on the store on the map. This will automatically populate the field with the RSN number.
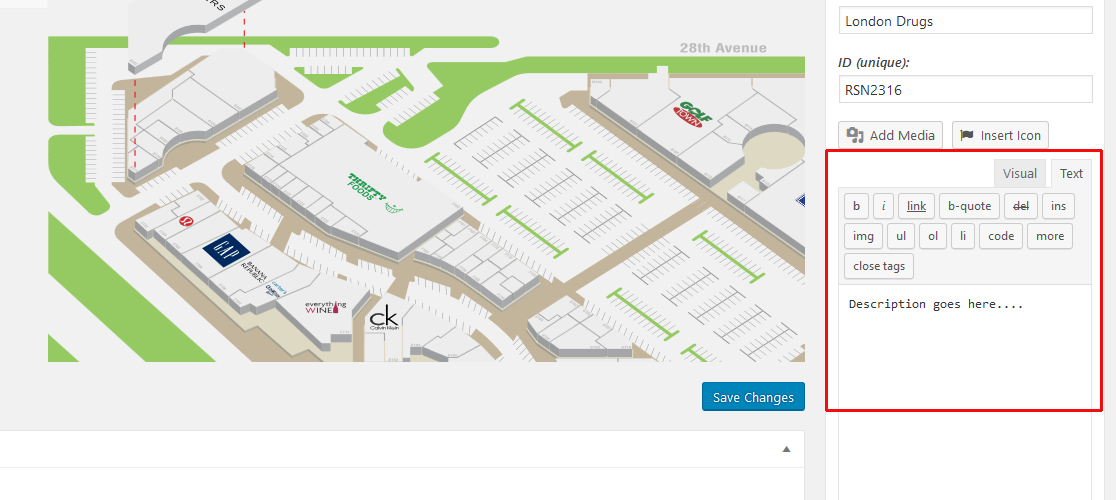
4. In the text box, if you would like, fill in the description for the tenant (optional). This information will appear in the pop up when people click on the map. For example you can, if the store doesn’t have a tenant, you can include a blurb that lets potential tenants know and then link them to your leasing page.
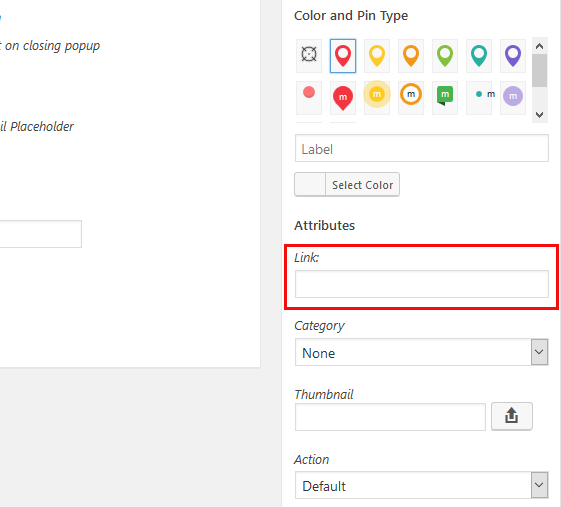
If you want to add a button that will link to any other page, put the URL (web address) into the Link field.
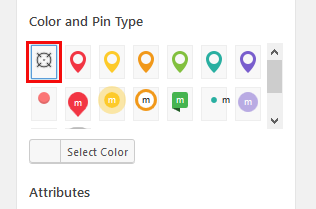
5. Select the Pin Type. Select the first option for the invisible pin.
6. Scroll up to the top and click the blue “Add” button. This will put the pin into the center of the map, drag the pin icon to the store, where you want the popup to appear.
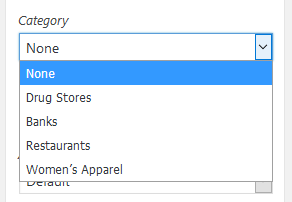
7. Then scroll back down and select the Category for the store.
8. Set the Zoom Level to 2.
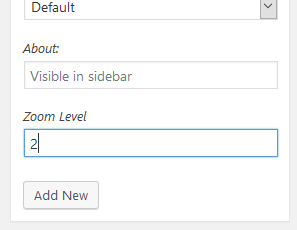
9. Click the “Save Changes” button.
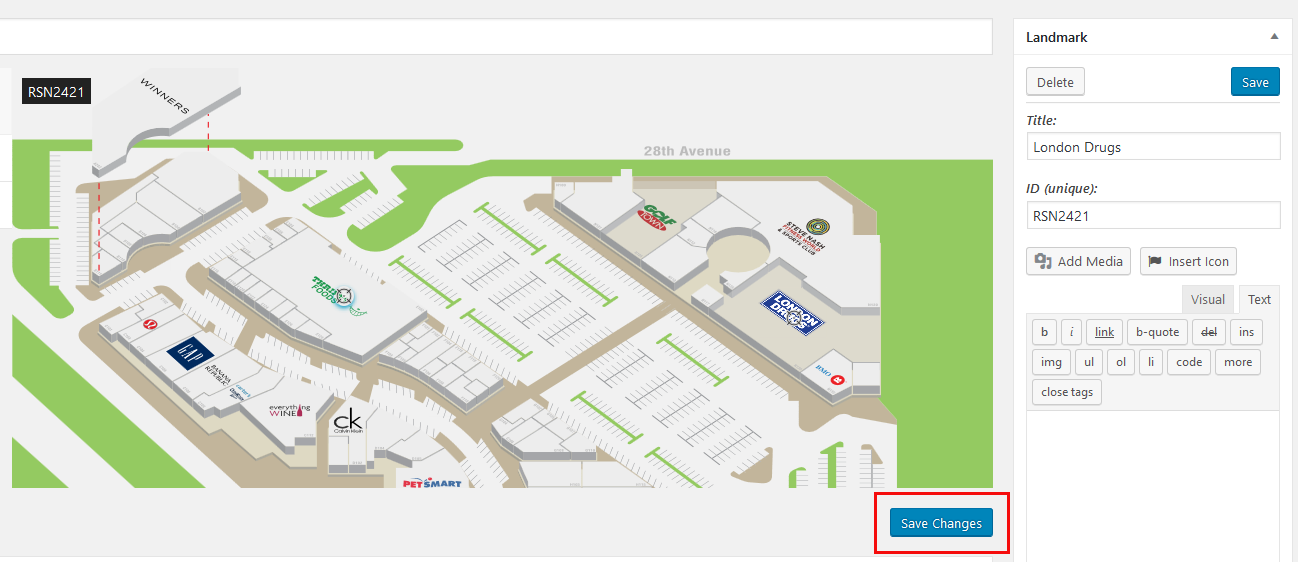
Please note that clicking the “Save” button in the right column will save the content but it will only appear on the map once you click the “Save Changes” button.