This article explains how to add events to your site. The layouts for Events and Sales are different, but the entry of information is virtually the same. Events automatically expire after the event date has past so you will never need to manage these posts.
Please note: If your site is multilingual, you will need to create the event post in both French and English if you want it to appear in both languages on the site.
Go to Sales & Events in the left-hand navigation, and select “Add Event” and follow these steps to add an event to the site, using the graphic below as a guide.
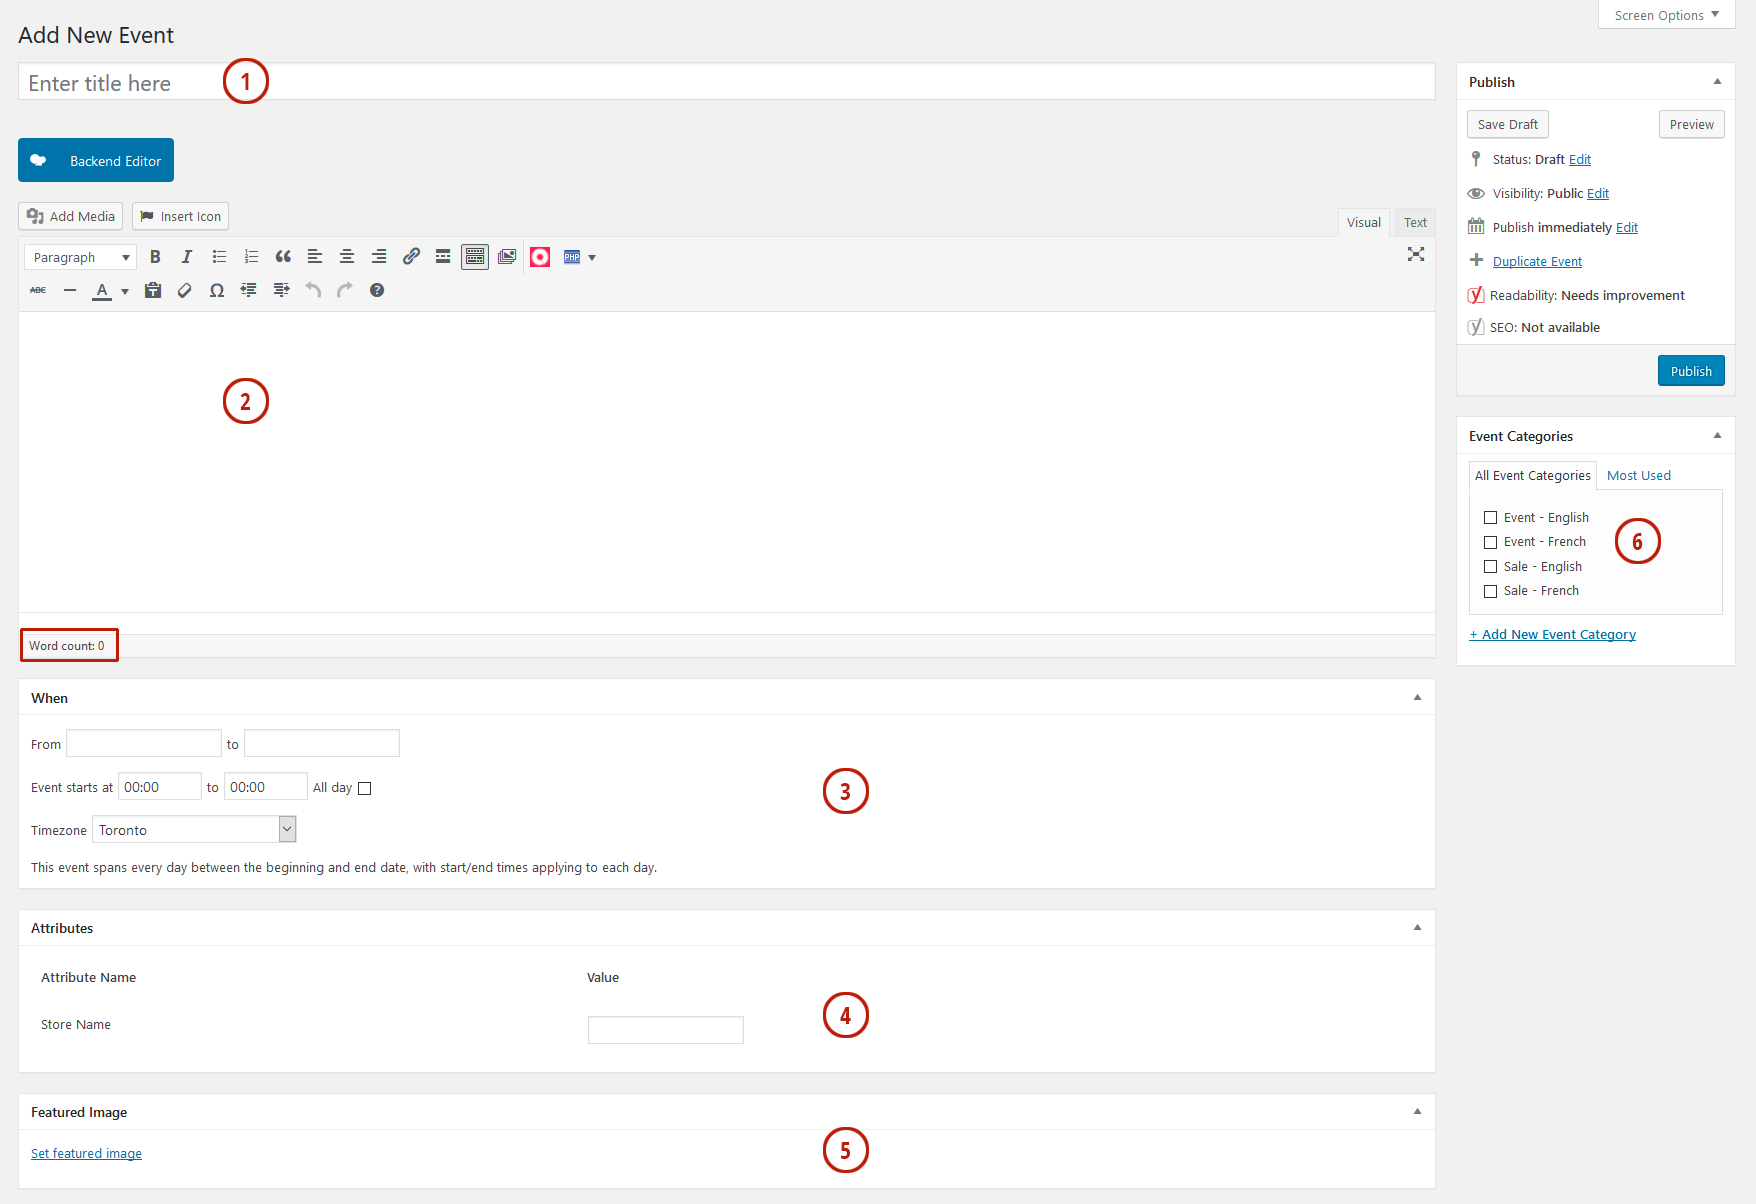
- Add a title for the event.
- Add text to describe the event. You can include links, etc. Try to keep this brief and under 50 words. You can see how many words you have written in the bottom left hand corner of the edit field.
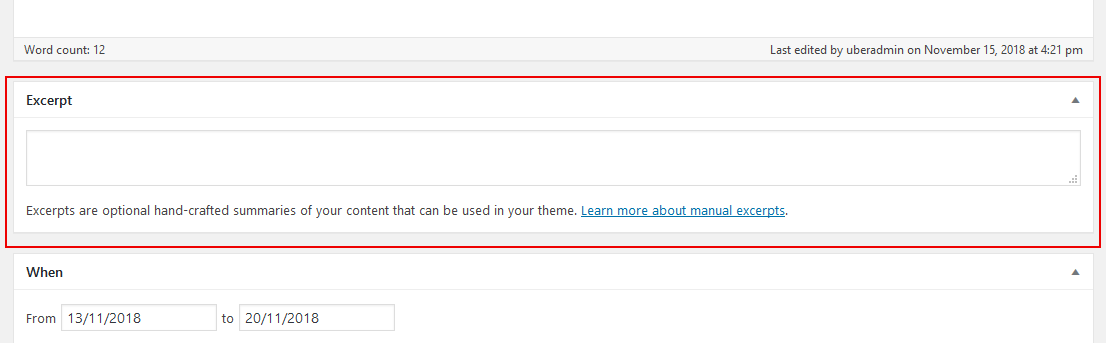
***If the number of words exceeds 50, then put a shorter version into the Excerpt field below the main text field. Please note that the store managers do not see this field. You can use this to write a shorter description of their content prior to approving the event if you wish.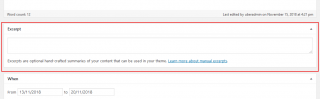
- Select the From Date, To Date, Start Time and End Time. Event Start and End time are based on the 24 hour clock.
- Put the store name related to the event. For example, if the event is for the LCBO, put LCBO into this field. If there is no applicable store, you can leave this blank.
- Click the “Set Featured Image” link to upload the full-sized image of the event. For best results use an image that is at least 600 pixels wide and portrait shaped. Please note that images can only be in one of the following formats: jpeg, jpg, gif, and png.
- Under Event Categories, select the “Event”. If you have a multilingual site, you will have the option to choose the language too.
When you are done, click the “Publish” button. You can check your event by going to your Event page.